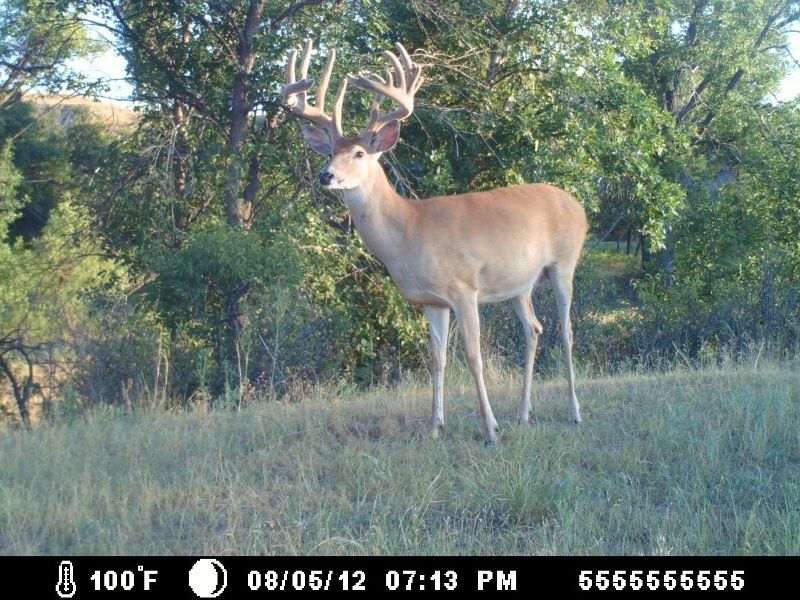
1) Strap your cam to a solid tree or fence post and level it 24 to 36 inches off the ground (up to but no higher than your chest level).
2) For good, tight buck shots, set it within 9 to 20 feet of a trail, scrape, creek crossing, etc.
3) Carry a compass (or use the digital one on your phone) and set your cam pointing toward north or south, depending on the lay of the land and the trail, scrape or terrain feature you’re monitoring. That way a rising or setting sun won’t backlight your photos too much.
4) Scout for a pinch point that funnels deer and set a camera within 20 feet of it: fence corner or gap; creek crossing; dry strip in a swamp; hole in a long, thick wind row; end of a brush pile or line of round hay bales that a buck might walk around…the possibilities are endless.
5) Ron Bice, who takes thousands of cam photos a year in his work for Wildlife Research Center scents, sets a cam 9-10 feet off a trail. “Don’t point it up or down the trail or full perpendicular to it,” he notes. He angles a cam 45 degrees onto a trail where a buck will walk head-on into the field of view and trip the sensor.
6) Little funnels and bottlenecks of thick cover between feeding and bedding areas are hot spots for cams.
7) An awesome spot for a camera (and tree stand) is at a small waterhole hidden in the woods. If it’s hot and dry in October and on towards Halloween that joint will be littered with tracks, trails, rubs and the first scrapes. Set a couple of cams at waterside. You’ll photograph a lot of the bucks that are living in core areas within a mile of there.
8) Biologist Grant Woods, who has snapped and analyzed tens of thousands of cam photos over the years, gets his best buck shots at scrapes. Look for big, active scrapes deep in the timber and “monitor them all rut, not just for just two weeks during peak,” he says. He explains that different bucks show up at scrapes at different times—some come early in the pre-rut, some at peak, others don’t show until the post-rut trolling phase. “Monitor the best scrapes for four to six weeks you’ll see almost every buck big and small on your land,” says Woods.
9) Midwestern whitetail expert Mark Drury often straps a cam onto the same tree where he has a stand. He activates the unit when he’s not hunting that post. If a shooter shows up, he analyzes the time stamp on the video clip with regards to the weather, wind direction and moon that day. “It helps me nail down the best time to go back and hunt that spot,” says Drury.
10) Cross-reference your photos/video clips with your latest observations of deer and your most recent find of big tracks and rubs and nasty scrapes. Pull out an aerial photo (or pull up Google Earth) and use all your data to define a shooter’s home core area. Look close and visualize the fields, ridges, thickets and trails where he travels, beds and eats. Sneak in for an ambush one day when the wind is right and before the deer up and changes his pattern. Your next great digital image might be of you grinning and holding the giant’s rack.

